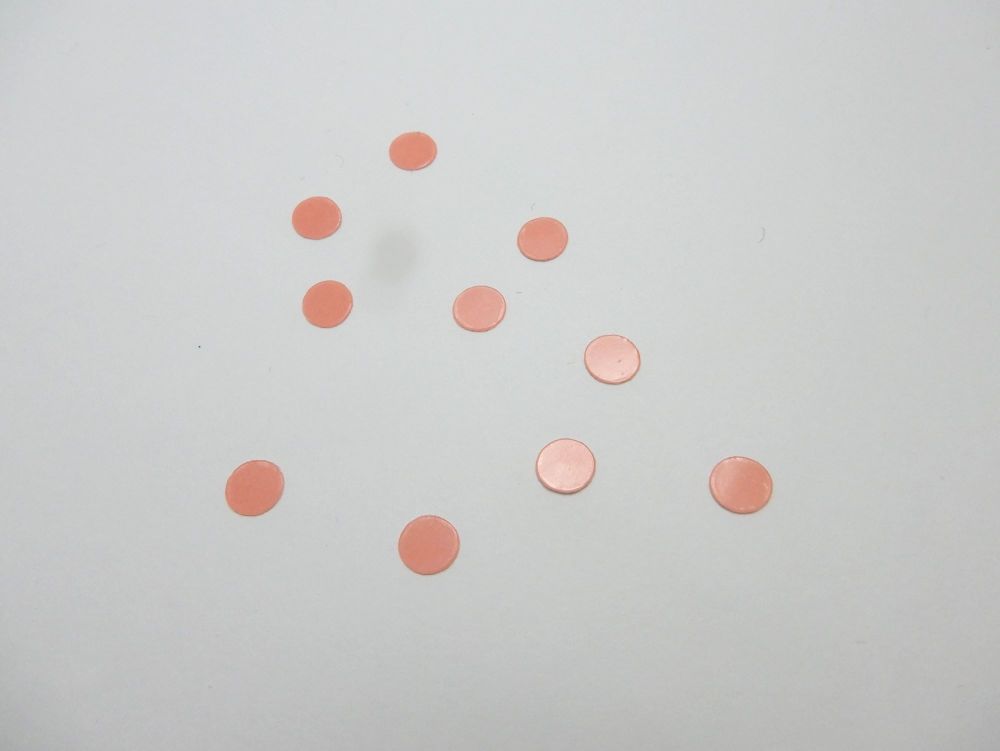
8 mm round Craft seals for making glass dome jewellery
- 8mm round double sided adhesive photo quality craft seals pack of 10 or 100
- From £1.00
Shop > Craft seals for glass dome jewellery

Faeriefer craft seals are made using high quality photo clear double sided adhesive, precision cut to bezel measurements for perfect jewellery making results.
Glass dome jewellery can be made in two ways, and which one you prefer will be down to personal preference. One way is to use embellishment adhesives and the other is craft seals. In my own jewellery making I like to use a combination of both.
If you have tried adhesives and struggle to get a perfect finish or you are looking for a less messy or speedier way to make your glass dome jewellery, then craft seals could be what you have been looking for!
Good quality craft seals with a professional finish are extremely hard to find and this is why I developed a range of my own for the UK market.
I have a range of sizes and the craft seals come in packs of 10 or 100.
Making jewellery with adhesive seals can take some practise, as with all new crafts. Test your material by making a sample piece first. Choose a good quality acid free paper or glossy photo paper. Your glass dome should be smooth, clear and free of fingerprints.
1. Carefully peel off one of the backings from the adhesive shape. Don’t touch the sticky side!
2. Carefully line up the seal with the glass and stick the sticky side to the underside of the dome. Use your fingers or a burnishing tool to smooth the seal down and remove any air pockets.
3. Peel off the other backing and carefully line up your image with the dome. Press image firmly onto the glass. Rub the image from centre outward using fingers or a burnishing tool until any air pockets are gone.
4. No need to trim the edges!
5. Add some jewellery adhesive or another seal to a pendant tray. Push your glass dome into the setting. If using glue, it is best to seal the back of your image first to prevent it seeping through and reacting with your ink.
6. Add to a necklace of your choice!